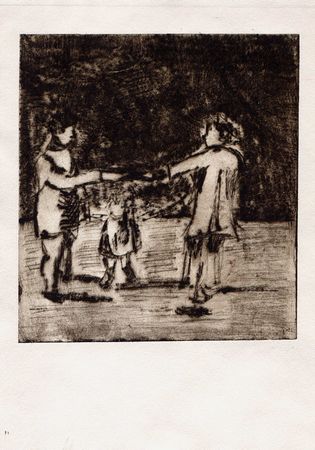
Ring O Roses Print

ring o roses drypoint etching

I’m taking advantage of the half-term break to catch up with myself.  This is one of a series of drypoint etchings based on my sketches from childhood photographs.  I’ve used sepia ink because of its ability to instantly make something look old.  I love this colour ink.  I have a lot still to learn about drypoint – the first lesson being to take more ink off on the first printing so that I can see the marks clearly.  (Although I do quite like the sense of atmosphere created by the ink left on the plate.)
 

A glimpse of my ‘studio’

a mess

Well actually … it’s the spare bedroom.  And we have a guest coming this weekend.  Help!

I don’t know how to do one of those Flickr things with pop up labels on, so what you can see here are some fabric journal pages in progress, some prints onto handmade paper, and my papermaking kit waiting for me to make some more.

Printmaking at home

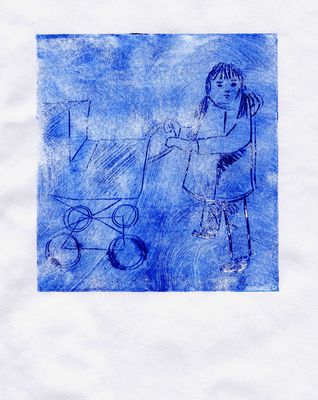
print of girl with pramI am experimenting with some techniques for printmaking at home, using inexpensive materials.  This image was produced using intaglio print card to create a drypoint etching plate.  I scratched the design into it using a bradawl and small screwdriver.  I then inked it up using Artisan (water miscible) oil paint, wiping the excess off with torn pages of a telephone directory.   To test it out, I dampened ordinary cheap cartridge paper, blotted it on newspaper, and laid it over the inked up plate.  I then ‘pressed’ it using an ordinary rolling pin!  It’s not perfect, but it is a start, and I plan to keep experimenting.  I’ve made some cream handmade paper, and I plan to try using this for printing.
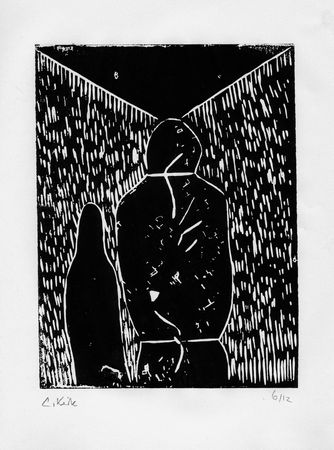
Drypoint etching

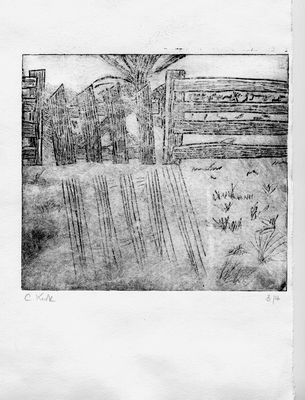
gate print

For this print, taken from one of my earlier sketches, I used a piece of intaglio printing card (it has a sort of shiny, plastic surface).  Using the edge of a glue spatula (which was all I had to hand, but wasn’t an ideal tool) I carved the design into the card.  I then scraped a thin layer of oil based intaglio printing ink across the whole plate and then blotted most of it off again with rags and torn pages from a yellow pages, leaving ink in the grooves and some ink on the surface of the card.  The method of printing is the same as for collagraph i.e. soak a piece of heavyweight paper and then blot the excess water off it.  Place a registration sheet on a piece of protective newspaper on the printing press.  (The registration sheet is a template of the same size as the paper you will print on that marks out where you need to put the plate to ensure prints are positioned correctly.  Sadly I didn’t use one for this as I was just testing the plate.) Lay the plate face up onto the registration sheet, place the damp paper over, lining up edges with the registration sheet, cover with newspaper and then the blankets and run through the press.  Voila!

I learned that:

a) you need to leave quite a lot of ink on, and be careful not to rub it back out of the design; and

b) it is good to use a variety of cutting tools so that you get a variety of lines.


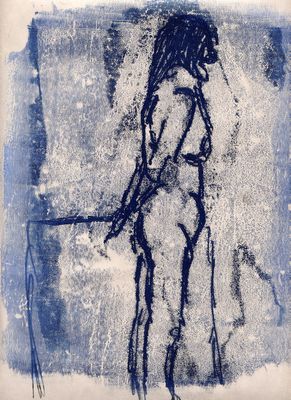
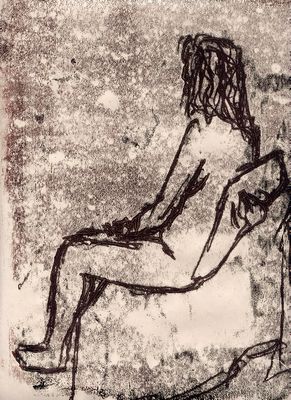
Lifedrawing monoprints

Monoprinting involves rolling out a thin layer of ink onto a plate (plastic or glass), and then either

a) drawing into the ink, then placing the paper over and rubbing to transfer the image; or

b) placing the paper gently over the inked surface, then drawing on the back of the paper to transfer the ink where you draw the lines.

brown lifedrawing monoprint

We had to work very quickly, as we were using waterbased ink which was drying fast.  Most poses were a maximum of 15 minutes, many were shorter.  I took several drawings from each pose, with each drawing taking only 3 minutes or so (that’s fast for me!)  I produced about 20 drawings from the one class. 

I found that this way of working suited me very well, and I think I need to do something like this more often.

blue lifedrawing monoprint 

Roped in

Roped in

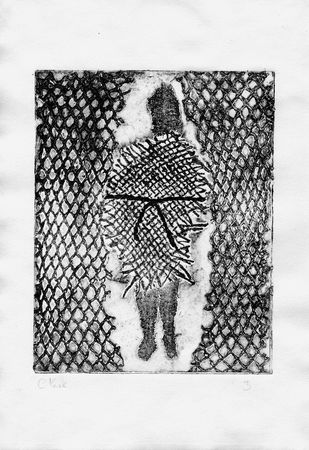
Collagraph print.  Part of Wrappings and Bindings project, completed last term.

Daily drawing today: Two A1 drawings for Fractured Landscape – both at college, and I didn’t take my camera with me.

Chine Colle

chine colle print

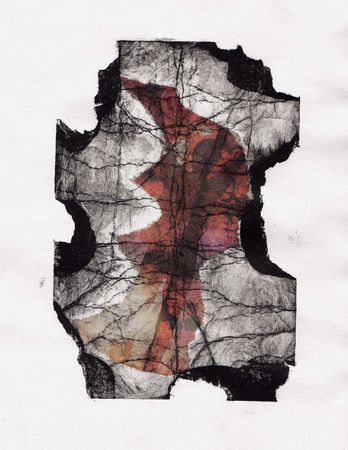
Just towards the end of last term, I learned how to do a chine colle print i.e. incorporating fragments of paper into a print by carefully applying PVA and then putting them onto the printing plate just before running the print through the press.  This was the result.  I can see this having potential for ‘fractured landscape’.