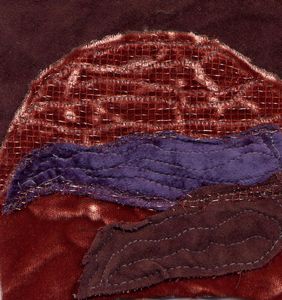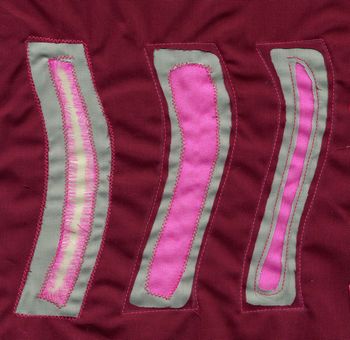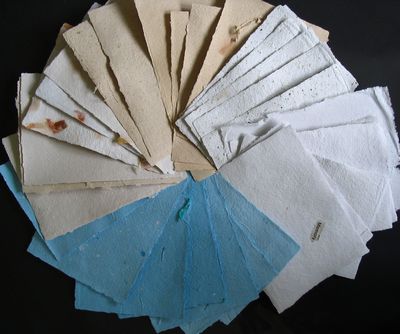
At a recent textiles workshop we made handmade paper, which just reminded me how much fun it is. I also learned how to do it even more cheaply and simply.
- Soak some waste paper overnight (copy paper and old envelopes are good – with not too much print on them).
- Place a small handful of the soaked paper into a liquidiser and add a jugful of warm water. Liquidise for a few seconds until the paper pulp is creamy. For a speckled effect, don’t pulp it for as long.
- Put the pulp in a (empty!) cat litter tray and add another couple of jugs of warm water. Add a tablespoon of dissolved PVA if you will want to write on the paper.
- Add any inclusions that you want in the paper (I’ve used peppermint tea leaves, chopped yarns, onion skins, and chinese five spice in some of the samples above). Swish it about a bit.
- Take a sheet of wire mesh (the type that is used for car body repairs). Tape the sharp edges to protect your hands.
- Cut up some jay clothes into sheets just bigger than the size of the sheet of mesh, and keep the pile handy.
- Dip the edge of the mesh into the furthest end of the litter tray and pull it towards you to submerge it under the pulp. Swish it about gently to distribute the pulp evenly.
- Keeping the mesh horizontal, slowly pull it out of the pulp so that a layer of pulp is caught on the surface of the mesh.
- Place one of the sheets of jaycloth flat on top of a folded towel and/or pile of newspaper (a lot of water will come out of the paper). Carefully turn the mesh over to lay the pulp side down onto the sheet of jay cloth. Using a sponge, carefully blot the mesh to remove water and release the paper sheet. It should stick to the jaycloth. This is called ‘couching’.
- Carefully prize the mesh away, starting at the corner. The first one can stick sometimes, but the rest come away more easily. You should be left with a sheet of wet paper on your jaycloth.
- Cover this with another sheet of jaycloth.
- Add a bit more pulp to the litter tray and continue couching more sheets of paper until you run out of pulp/jaycloths/get bored/have to take the dog out.
- When you’ve finished couching sheets, place a jaycloth on top of the last one. Put a heavy board (I use a wooden chopping board) on top of the pile and stand on it to press the sheets flat. Be careful as you remove the board, as the pile of sheets can stick to it.
- Peel the top sheet off and then peel each separate jaycloth complete with its sheet of paper off the pile and lay it on sheets of newspaper to dry flat. It should take about a day to dry. It helps if you peel the sheets off the jaycloths while they are still slightly damp. If they have dried and stuck, dampening the reverse of the jaycloth can help to release them.
- DO NOT pour the pulp down the sink as it will block it. Pour it through a sieve. You can then either leave it to dry in the sieve (in which case you get a lovely paper bowl!), keep it in an airtight container to use again, or compost it.
You can create coloured paper simply by adding pulped coloured papers e.g. colourful greetings cards envelopes or tissue paper. You can also laminate objects by couching one sheet of paper, placing the object to be laminated on top (yarn, leaf skeleton, dried flowers etc) and then making a thin sheet (catching just a bit of pulp on the mesh) and couching this over the top of the same sheet to encase the objects.
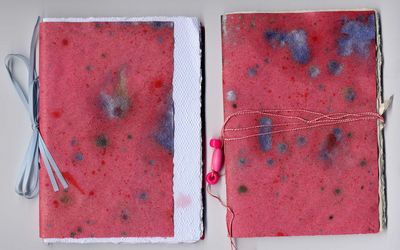
Once you have several sheets of paper, you can make simple books. More of this later!
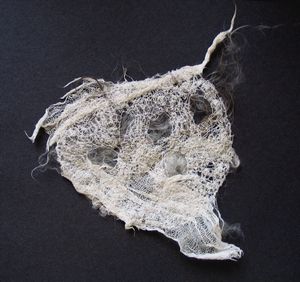
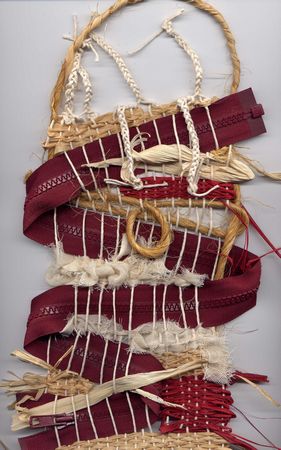 Raffia, dried leeks, string, zip, gauze
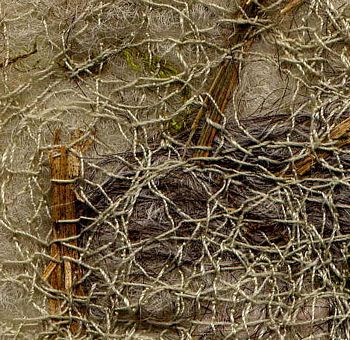
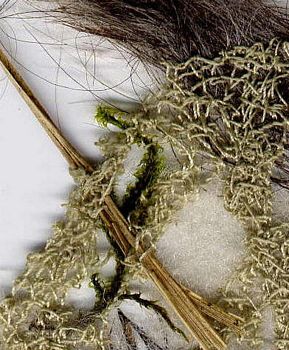 During our walk on the moors at the weekend, I gathered all sorts of fragments of sheeps fleece, moss, feathers, grass and so on. I trapped these between two sheets of water-soluble fabric and fastened into an embroidery hoop. Using freehand machine embroidery (lower the feeddog and use a darning foot) I created a lacy structure to hold the fragments together. These are close-ups of the final pieces.